Welcome to Part 3 of the Vlogging For Musicians Series. In this post, I’m going to show you how to shoot a simple video song using your gear.
What is a video song? According to the Urban Dictionary
- An artistic visual and auditory medium with 2 rules:
What you see is what you hear (no lip-syncing for instruments or voice). - If you hear it, at some point you see it (no hidden sounds).
To me, it’s just another type of music video. There’s music and there’s video – Music + Video = Music Video. Some video songs are pretty elaborate utilizing multiple cameras, sliders, and jibs, but others are quite simple yet effective and that’s what we’ll focus on.
Step 1: Figure Out What You Want To Record
As a person who makes music, it’s your goal to promote and expose people to your unique sound and songwriting. The problem occurs when your sound gains no traction with the listeners.
As a result, you get frustrated, lose confidence, and invest in shady marketing tactics (spamming). Some music creators will fall for the Okie Doke “get 5,000 YouTube views for $90″ scheme.
Horrible method for building a fanbase. Most of the time the views are fake. Any company that claims to deliver targeted views would have to conduct research for each client.
If they actually did the work, they wouldn’t charge $90, trust me.
In the end, the musician comes to the conclusion that social media doesn’t work, it’s not for them or they have to spend more to get their music to the right ears.
My Advice: Don’t Shoot For Originality
Start off with a series of cover songs (popular hits) then slowly introduce your own songs.
Why 1: First surge of traffic.
Why 2: Get’s people listening and familiar with your voice and style.
Why 3: It’s a quick way to find fans
Why 4: Builds a little anticipation for your original music
Why 5: Allows you to test your music in front of a following
If cover songs aren’t for you, that’s okay, use your own material. Just know that it could take longer to find fans. Most people will listen to something they’ve heard before vs something brand new. Food for thought.
Step 2: Decide How You Want To Shoot Your Videos
Do you want your performance to be live or pre-recorded? What’s the difference?
Live: Not as in broadcasting, but in the performance itself. You’re singing live and capturing the performance with your camera.
Pre-recorded: Everything was recorded beforehand, you’re now singing along and making it look good for the camera.
There’s no right or wrong, do whatever you feel most comfortable with.
Step 3: Shooting Your Video
All your gear is set up; lighting, audio, video camera… everything is in place. Your staging is good, the way you look in the environment is good. Now, it’s time to record.
Follow These Tips For Shooting Better Videos
Check Your ISO: Make sure you’re using the lowest ISO possible. A higher ISO allows more light to hit the camera’s sensor, but it also introduces more noise into the video footage. As stated before, the more light you have, the better.
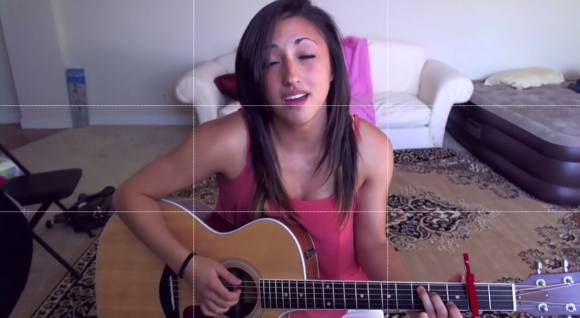
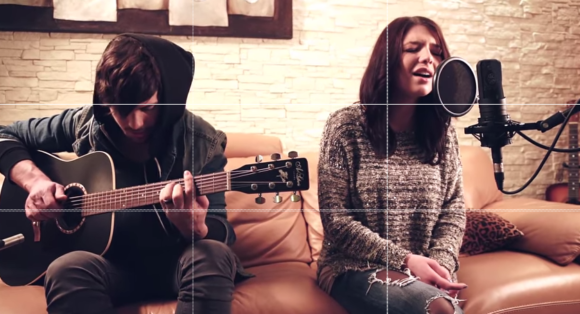
Framing: Make sure there is a decent amount of headroom in the shot and experiment with the rule of thirds. Use these images for inspiration pay attention to the environment as well
I’ve added the Rule Of Thirds Grid.
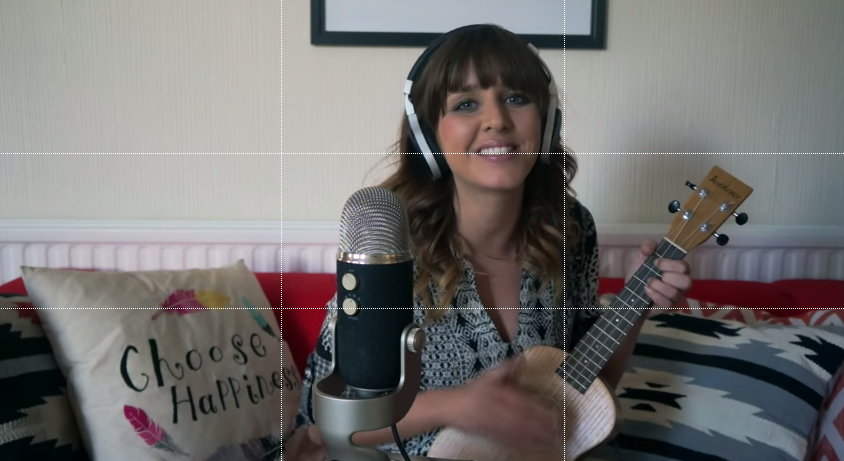
It doesn’t need to be Hollywood quality, just has to look good enough. The lady in the first picture (Esmee) was signed by Justin B after building her following on YouTube.
Set the Focus: Make sure your subjects are focused! I know some of you have autofocus cameras. They are awesome but unpredictable. LOCK your focus.
Capture Good Audio: Make sure all recordings hit an interface and recording device or app (DAW). Leave camera mic (onboard mic) live. I know, I know, but it’s needed for the edit trust me.
Bokeh: This is the blurry background you see in a lot of shots and videos. The 50mm lens is perfect for this
Multiple Takes: Just like comping while recording in a daw. Take the best takes and create the best version of the video.
Shoot In HD: This should be a no-brainer but shoot and deliver the highest quality possible.
Breathing Room: Always leave 3-5 seconds of recording before and after your footage. This is for both video and audio. This will be beneficial once we hit the editing stage.
Yes, this means to hold that pose or smile at the beginning and end of the video.
Shooting Your A-Roll
This is the main footage → you singing, playing your instrument, etc
Get in position, point your remote at the camera, look in the lens, and hit the shutter button. This will make the lens focus on you and snap a picture. If you have a flip-out screen, you can see how you look in this picture. If all looks well, hit the record button and start performing.
No remote or flip screen, you’ll have to do a lot of getting up and repositioning until you get situated.
One thing to remember, DSLRs only record 12 minutes at a time by default. Most songs are about 3 minutes, but if you make mistakes a 3 min video could easily turn into 10 minutes of footage.
Shooting Your B-Roll
What is B-Roll? B-Roll is supporting video footage that helps aid your main footage. For example, If you’re a guitar player, it would be beneficial to show different angles of your guitar as you play.
If you’re a singer, how about some footage of what you’re singing about?
The B-Roll is used to make your video more interesting. It’s not a must for what we’re doing, but I wanted to put it out there as you may want to experiment in the future.
Side Note: The more B Roll you have, the less your face has to be on camera. Again, just floating it out there 🙂
Step 4: Transfer Audio/Video Files To Computer
Transfer all video from your camera to your computer and place it in a folder (a/b-roll). Do the same with your audio files. Bounce/export and place them in the same project folder. Your folder should look something like this
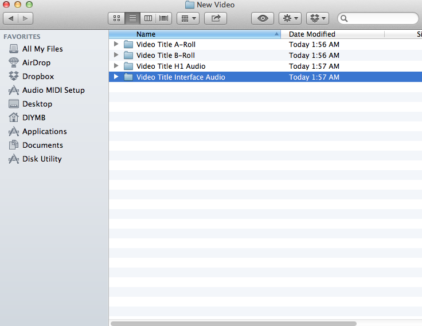
Nice and organized. In the next post, we’ll discuss editing and rendering your video files.
Sounds a bit technical with all the settings and whatnot, but again, the process becomes easier with each video you shoot.
Step 5: Import Media (Audio/Video) Into Your Video Editor
Whatever video editing application you have access to. Most operating systems come with a free/stock editor, use that. If you’d like something a little more robust, go with Davinci, it’s FREE.
Step 6: Edit The Video & Bounce (Render) It
Now, arrange the video how you want, add some FX if needed, render the video and share it with the world!
Want An Easier Method?
If you’re feeling overwhelmed, no problem here’s a much simpler way to record. Forget everything I’ve mentioned above, and follow these simple instructions.
“Greg, you’re killing me!”
Yes, I know and I apologize. Most people will build you up then tear you down. I decided to tear you down first, then build you up :).
How To Shoot Videos The Easy Way
All you have to do is the following
- Screw The Background: Just, record wherever. Take the good hate in with the praise, it’ll happen regardless. If someone makes a comment about your room, corner, messy bed ..so what…every comment (good or bad) adds a notch on your video.
- The lighting: The lighting is important. Good lighting makes everything else easy. So focus on getting good lights.
- Camera Settings: Focus on the subject, and put the camera in AUTO MODE. If the lighting is good, the camera will pick the best ISO, you’ll be fine. Yes, I’ll tell you to let the camera do the work. That’s the easiest way.
- If all you have is a pocket cam (no smartphone) you have no choice but auto mode so…
- Your Audio: Capture audio from an external device and camera’s mic. You can even have the instrument and vocals on the same track if you want.
- Transfer Files: Transfer audio and video files to your computer.
- Upload Video: Upload your video song to your favorite social media platform.
It’s that simple. You can always improve and add on more advanced techniques later on. What’s most important is getting into a rhythm/workflow that allows you to have fun and get your music out there.