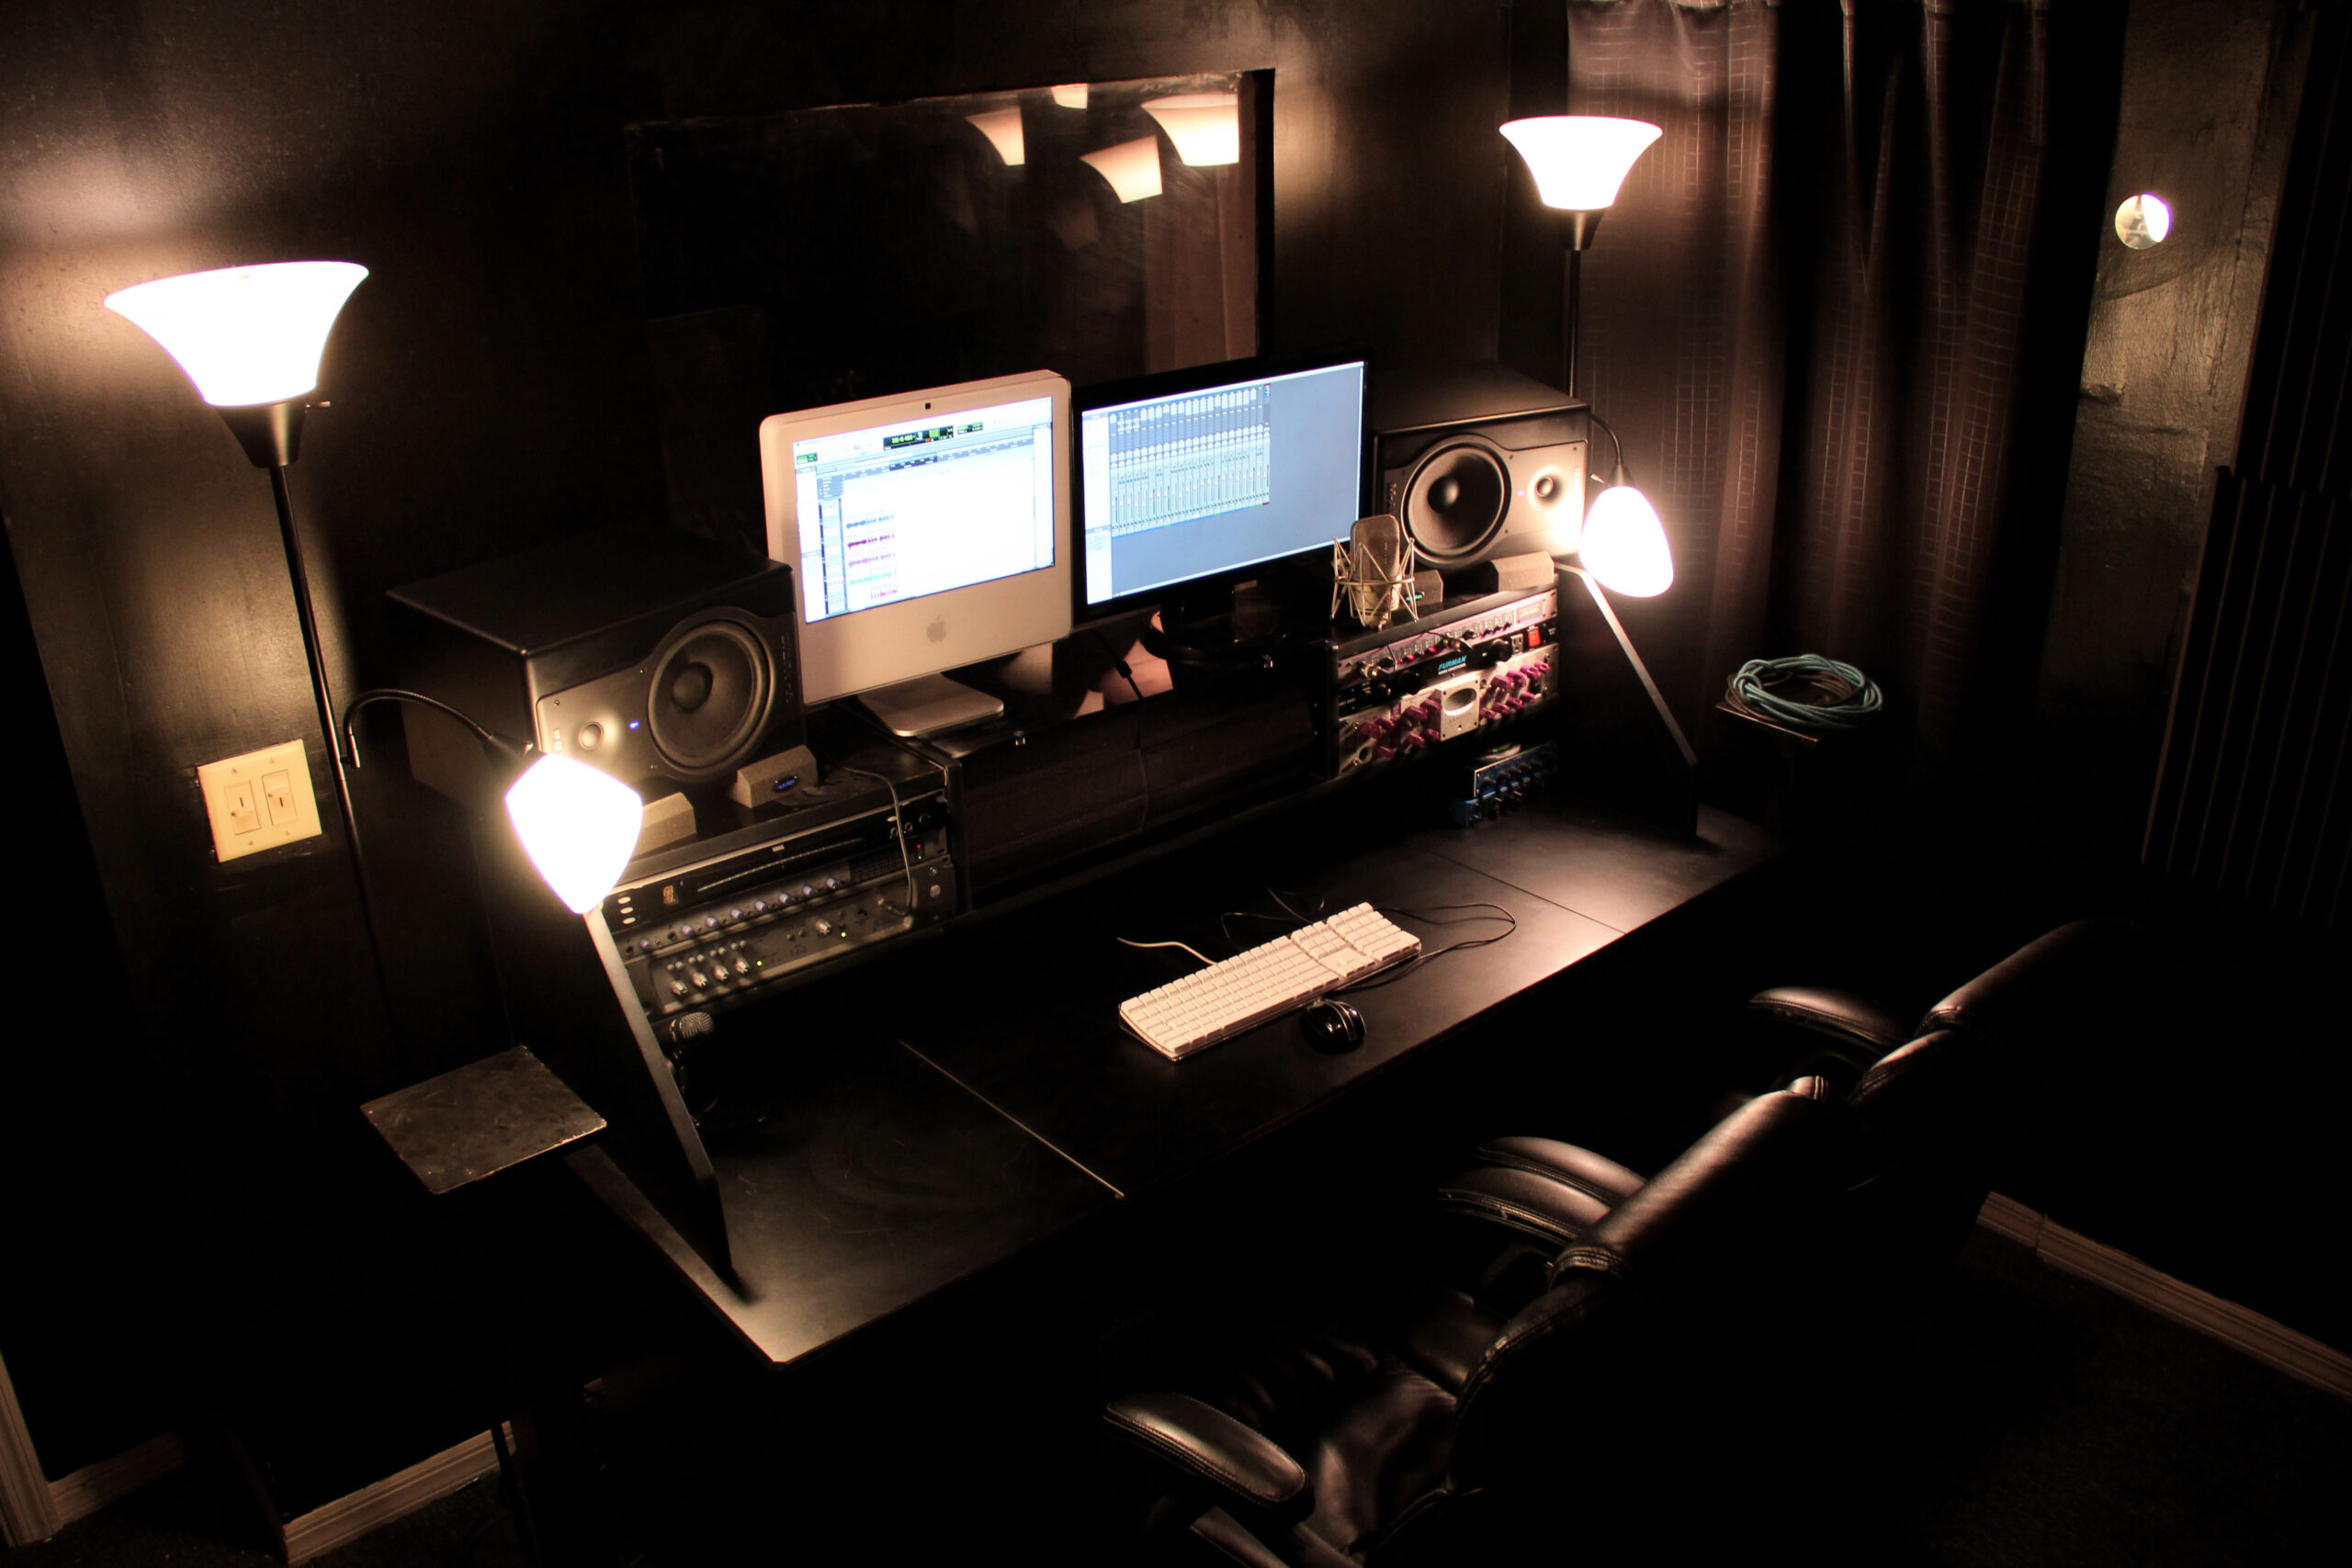
This is a buyer’s guide created for those who are interested in building their own recording studio but, don’t know what they need to purchase in order to do so. Now before creating this guide, I originally only had composers in mind but, as I continued writing I realized, there are a few other birds I could kill with this stone.
So, the gear suggested in it is geared toward both, composers as well as recording artists.
Just a little warning, these options are based around a computer (tower and or laptop). These days, I suppose its fair to assume everyone has access to a decent computer.
You don’t need the latest and greatest technology, I’ve done professional work on an 800mhz computer running nothing but Sony ACID – So no excuses my friends (anyone can do it).
Here’s the breakdown:
1) Recording Studio Monitors
This is one of the most important pieces of a recording studio yet, it’s most people’s last purchase! It’s the afterthought purchase of most recording setups and it shouldn’t be!
How are you suppose to create good music if you can’t hear the things you need to be hearing? I find it funny that people are willing to pay $500 or more on software applications but, when it comes to the monitors (studio speakers) they try to find the cheapest solution possible.
That doesn’t make any sense AT ALL! Music is ear candy ladies and gentlemen so, your monitors are not something to skimp on.
Here is a small list of studio monitors that will allow you to get the job done (right) without breaking the bank.
Active Monitors (No external Amp Needed) Under $400
Alesis M1 Active 520 – $174.00/Free Shipping
Alesis M1 Active MK2 –$290.00/Free Shipping
Yamaha HS50M $399.00/Free Shipping
Don’t buy USB-based monitors (as your main monitors).
2) Treating Sound Reflections
This is very important. There are too many home studios with bare walls. This is not a good practice because the sound coming from your monitors will bounce off the walls and back into your ears thus, altering what you truly hear in your mix.
This is what I would suggest:
Keep in mind, I’m not a pro engineer and I’m sure any (engineers) reading this will want to backhand me into next week.
Studio Foam – Auralex foam is good (IMO), but it can be pretty expensive. Head over to eBay or your local GC and grab some.
Keep in mind the goal here is to kill reflections (dampen the sound), not soundproof the room.
Eggcrate foam is a great alternative! The thicker, the better.
Keep in mind, not all mattress foam is the same. Some will be thinner or as think as the Auralex foam (depending on where you get it from).
Where To Place Studio Foam
I’m sure the next question is “where do I place the foam once I get it?”. This is a great question with a generic answer – Place it wherever it’s needed!
What you need to do is clap your hands in the room and note where you hear echoes. Those are the places you need to treat 1st! Everyone’s room will be a little different in size and clutter. When I say clutter, I mean the stuff you have in the room.
Some of you might have beds, bookcases, boxes, etc. This is all good as it helps to diffuse sound (stopping it from bouncing back).
The typical location you’ll place foam is on all 4 walls of the room, not the entire wall but the middle portion of each. You’ll place a large panel or a few small panels. Do not foam the entire room because you’ll create an unnatural boxy-sounding mixing space – We don’t want that!
Moving Blankets – I love these because they’re so inexpensive and they do the job well. You can purchase movers blankets at home depot or online, but the best place to buy them is at a warehouse. I’ve found that warehouses will sell them dirt cheap or give them away free.
The idea with movers blankets is to hang them around you. You can do this by hanging them on hooks or a square frame made from PVC.
When buying movers blankets, get the ones that feel like CLOTH, not the ones that have that synthetic feel to them. The cloth will absorb sound much better than synthetic material.
3) The Audio Interface: Choosing The Right One
These units are used as a “go-through” from your audio equipment to your computer.
Audio interfaces are equipped with:
- I/0 (ins and outs)
- preamp
- midi connections
- Headphone Jacks
There are 3 different kinds of audio interfaces: Firewire, USB, and PCI.
The PCI interfaces fit inside of your computer (generally towers). The one I use is a Delta 1010. It’s old but still works like a charm.
USB Interfaces connect to your computer via USB (obviously) and firewire connections via firewire. Firewire can be faster than USB (90% of the time), but there are few USB units out there that smoke their firewire counterparts. These interfaces can range anywhere from $60 to $2,000, depending on the brand and the bells and whistles it contains.
a small list of audio interfaces I suggest:
3 Good USB Audio Interfaces
Focusrite Saffire 6 USB $174.99
Focusrite Scarlett 18i6 best deal
Presonus AudioBox
3 Good Firewire Audio Interfaces
M-Audio ProFire 610 – Free shipping
MOTU UltraLite Mk3
I won’t bother listing the PCI interfaces simply because USB/Firewire interface’s quality is the same, if not better. The only reason I still have my M-Audio Delta 1010 is because I started with it, It still sounds great and I don’t have a reason to replace it – If it ain’t broke don’t fix it right?
4) Microphone Selection
This is a long process for most people, especially if it’s their 1st time investing money into their recording setup. The myth is you need to spend top dollar on a mic in order to get a quality recording.
The truth, all you need is a good recording area, a good interface/preamp, and good mic placement.
I own a Behringer B2 that I purchased over 6 years ago and it rivaled a high-end Neumann U87. I tested this mic numerous times with my manager/engineer (at the time) and the only difference was the Neuman registered the Hi’s just a little better.
great cheap condenser Mics for vocal recording:
Studio Projects B1 $114 Free Shipping
Behringer B2 $142.99 Free Shipping
Blue Spark Condenser
Audio Technica 4040
RODE NT1/NT2 – Good price
I like these condenser mics because they don’t cost a lot of money, they reproduce sound accurately and they are under the $500 threshold.
5) Recording Studio Applications
Too many choices out there these days, and most pretty much do the same thing. Here are the applications that I feel give you the most bang for your money.
Propellerheads Reason – Reason gets a lot of flack because it lacks plugin support. If you do a search online you’ll find hundreds of threads with people ranting and complaining about it.
What I love about this program is the fact that it resembles real studio gear. Even down to the routing of instruments. The reason is probably the only application on the market that contains everything you need to create PRO quality music.
Ableton Live – Excellent application for recording, production, remixing you name it. The program is flexible and has a huge community of experts that help their fellow users. They supply tips, skins, Ableton templates, etc.
Most communities I’ve come in contact with are snobby and feel that every little technique they use is a HUGE secret and dear to them – Not the Ableton Live Community!
Pro Tools – This is another multitrack recording application, most claim it’s the industry standard. I’m not a huge fan of this application (my own personal biases) but it gets the job done.
There are a lot of affordable bundle packages that contain pro tools, I’d suggest looking into them especially if you’re thinking of going pro tools
Every program has stock samplers, eq, compressors, and instruments (synths) but, for the multitrack recording apps, you’ll need to invest in other plugins to get the most out of them.


